How to set up a flash for a photo booth
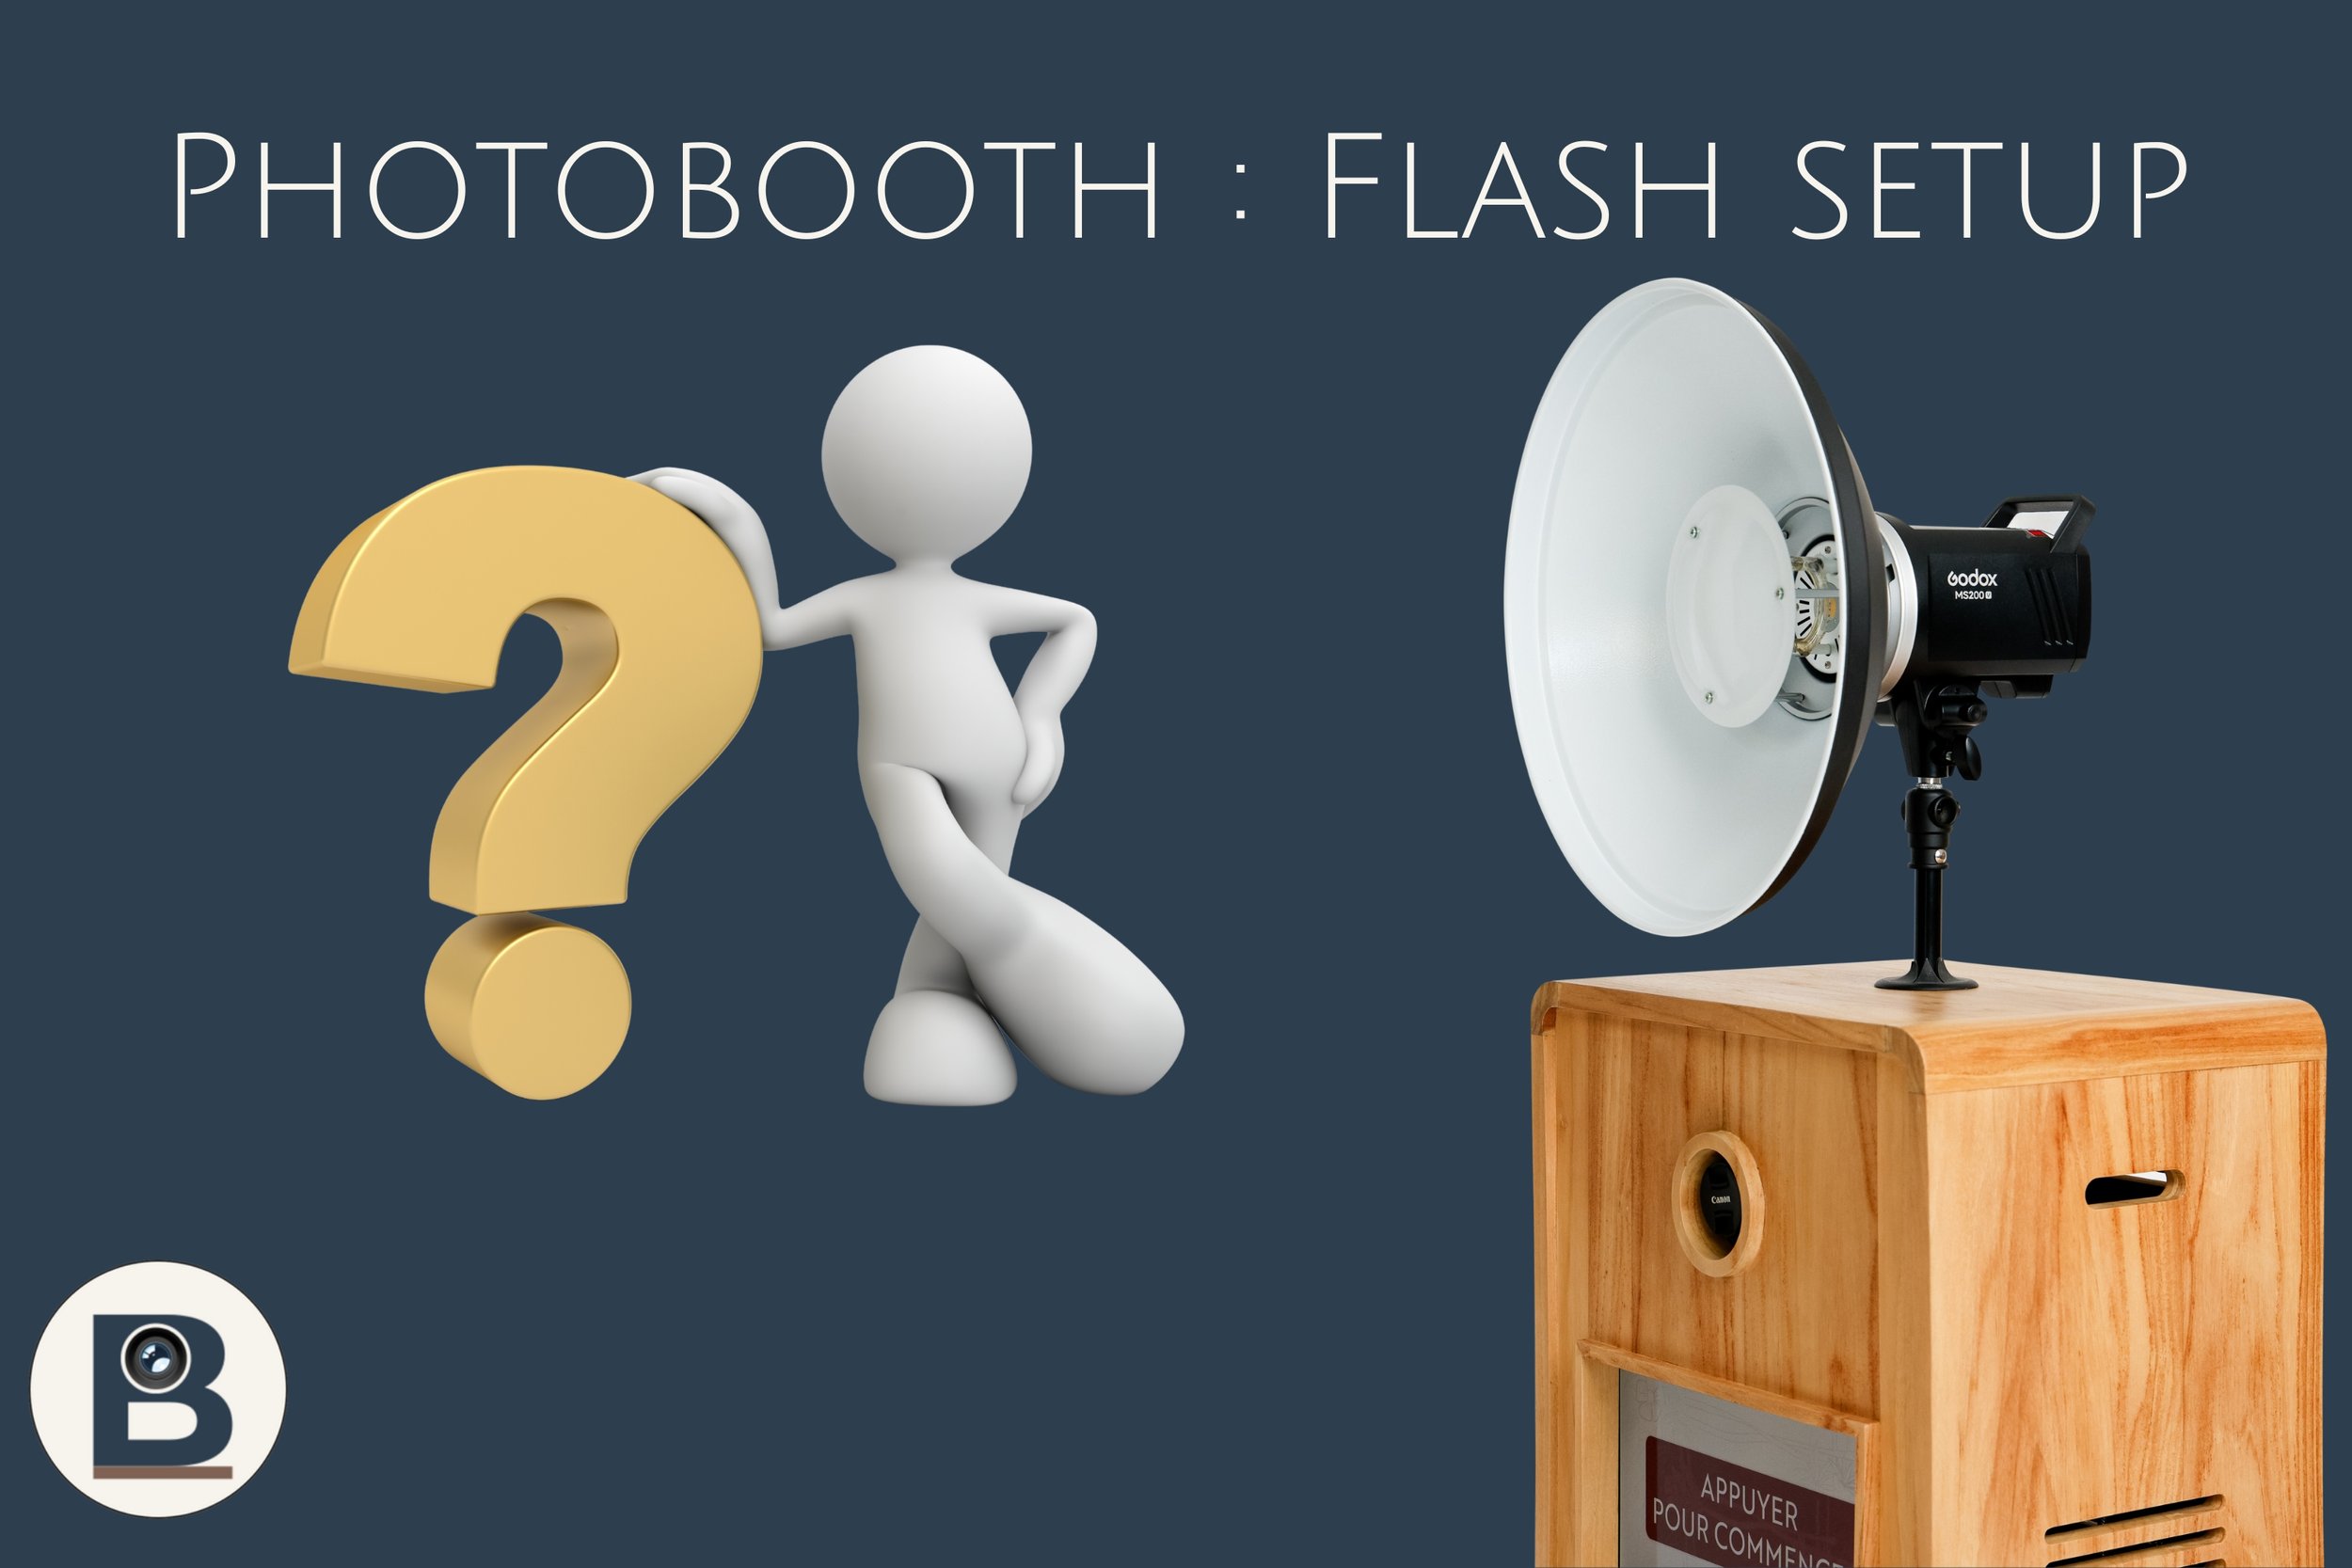
A professional photo booth must produce sharp, bright, and consistent photos, no matter the occasion—whether it’s a dimly lit wedding venue, a corporate event, an outdoor cocktail party, a printed backdrop, floral decor, or colored mood lighting. And to achieve that crisp, studio-quality look that makes all the difference, we use a photo flash.
The good news is that a flash for a photo booth doesn’t have to be complicated. Unlike a photographer who is constantly changing angles, distances, and lighting, a photo booth operates in a much more stable environment: the camera stays fixed, guests stand in roughly the same spot, the framing doesn’t change, and the settings can remain the same in the vast majority of situations.
The goal, then, is not to change everything for every event, but to establish a reliable, easy-to-replicate foundation and then learn to make small adjustments when necessary.
The Exposure Triangle: A Quick Overview
Before discussing Lumabooth or flash settings, it’s important to understand the three main factors that affect a photo’s exposure: shutter speed (in seconds), aperture (f/x), and light sensitivity, also known as “ISO.”
The shutter speed is the amount of time the camera allows light to enter. The slower the shutter speed, the more ambient light the camera captures. For example, a photo taken at 1/60 will let in more light than one taken at 1/160. In a photo booth, we generally avoid using shutter speeds that are too slow, because guests move, laugh, talk, raise their arms… and this can cause blurring.
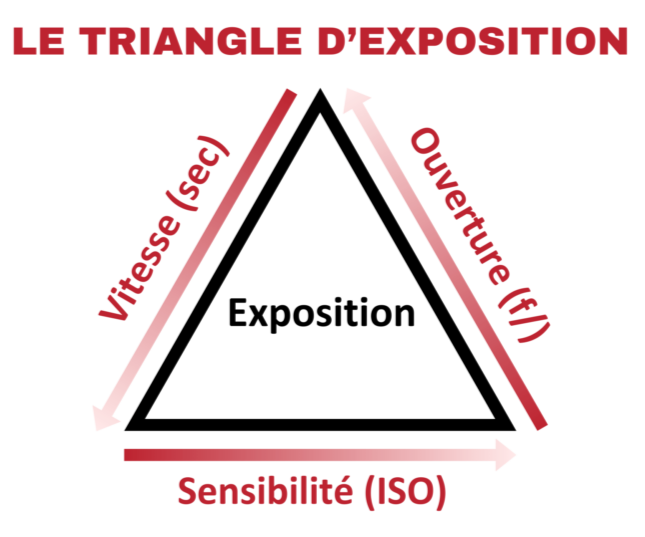
In short… that’s how it looks.
When using a flash, a shutter speed of around 1/125 second or 1/160 second is an excellent starting point. This is fast enough to keep your photos sharp, while still being compatible with most flash systems. Setting the speed too high can cause synchronization issues depending on the camera and flash you’re using.
The aperture refers to the lens’s aperture setting. The smaller the number, the more light the lens lets in. For example, f/4 lets in more light than f/8. But in a photo booth, the goal isn’t just to let in a lot of light; we also want multiple people to be in focus at the same time. That’s why we often use apertures like f/8 or f/10.
At f/8 or f/10, the depth of field (the range of sharpness) is more forgiving. Even if two or three people aren’t perfectly aligned, they’ll usually still be in focus. This is a very important consideration for wedding photo booths, corporate photo kiosks, or self-service setups, since participants never position themselves exactly as you’d like them to.
ISO refers to the camera’s sensitivity. The higher the ISO, the brighter the image becomes, but if you exceed a certain threshold, the quality deteriorates (the so-called “noise”). On newer cameras used in photo booths, such as the Canon R100 we use at Bizbooth, you can often increase the ISO slightly without any issues, especially for photos intended to be printed in small formats or shared online; however, you should avoid exceeding 3200, and in extreme cases, 6400.
In summary, for a photo booth with a flash, a good starting point might be:
1/125 or 1/160 for shutter speed, f/8 or f/10 for aperture, then adjust the ISO based on the flash power and the type of diffuser.
Camera settings in Lumabooth (formerly dslrbooth)
In Lumabooth, the camera settings are located in the event settings, under the section for the camera. Depending on the version and configuration, you can adjust or control the main settings: shutter speed, aperture, and ISO.
For a photo booth, it’s best to shoot in manual mode. This prevents the camera from automatically adjusting the exposure from one photo to the next, and with flash photography as it is today, shooting in automatic mode yields very poor results. At an event, you don’t want to end up with one photo that’s very bright and another that’s darker, simply because a guest is wearing a white shirt or a black dress walks in front of the lens.
In 90 to 95% of cases, the default settings can remain unchanged. For example, you can start with one of these configurations:
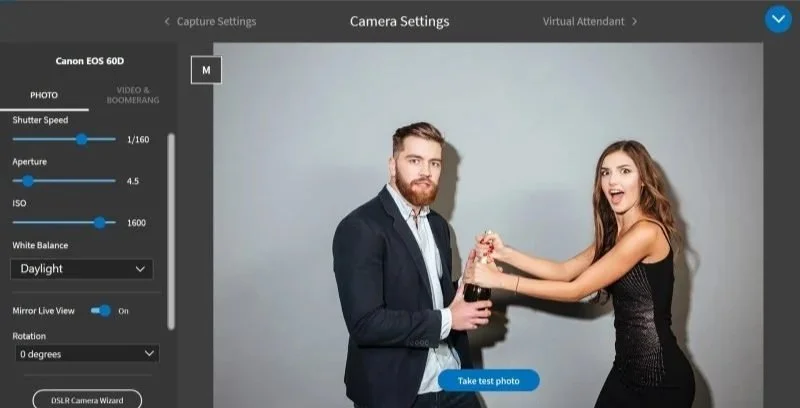
1/160 — f/10
1/125 — f/10
1/160 — f/8
1/125 — f/8
These four lens combinations work very well in a photo booth. They produce sharp photos with good depth of field while remaining compatible with flash use. The idea here is to create a stable setup that you’ll hardly ever need to adjust from one event to the next.
The only setting you might need to adjust in Lumabooth is the ISO setting.
With a standard bowl and a diffuser, for example, you might start around ISO 640, though this should be adjusted based on the distance from the flash, the power setting, and the desired result. With a beauty bowl or another indirect diffuser, it may sometimes be necessary to increase the ISO, for example to ISO 1600 or ISO 3200. These aren’t universal values, but rather starting points.
The most important thing is to conduct a proper test under actual event conditions, with people positioned at the correct distance. A setup that works perfectly in a workshop or exhibition hall may require a slight adjustment in a large, dark room, under a white tent, or in front of a floor-to-ceiling window.
How do you set up a flash for a photo booth?
For a photo booth, we recommend setting the flash to manual mode. TTL mode can be useful in standard photography, but on a stationary photo booth, it can sometimes cause variations from one shot to the next. In manual mode, once the setting is correct, it remains consistent.
The first step is to decide how much ambient light you want to let in.
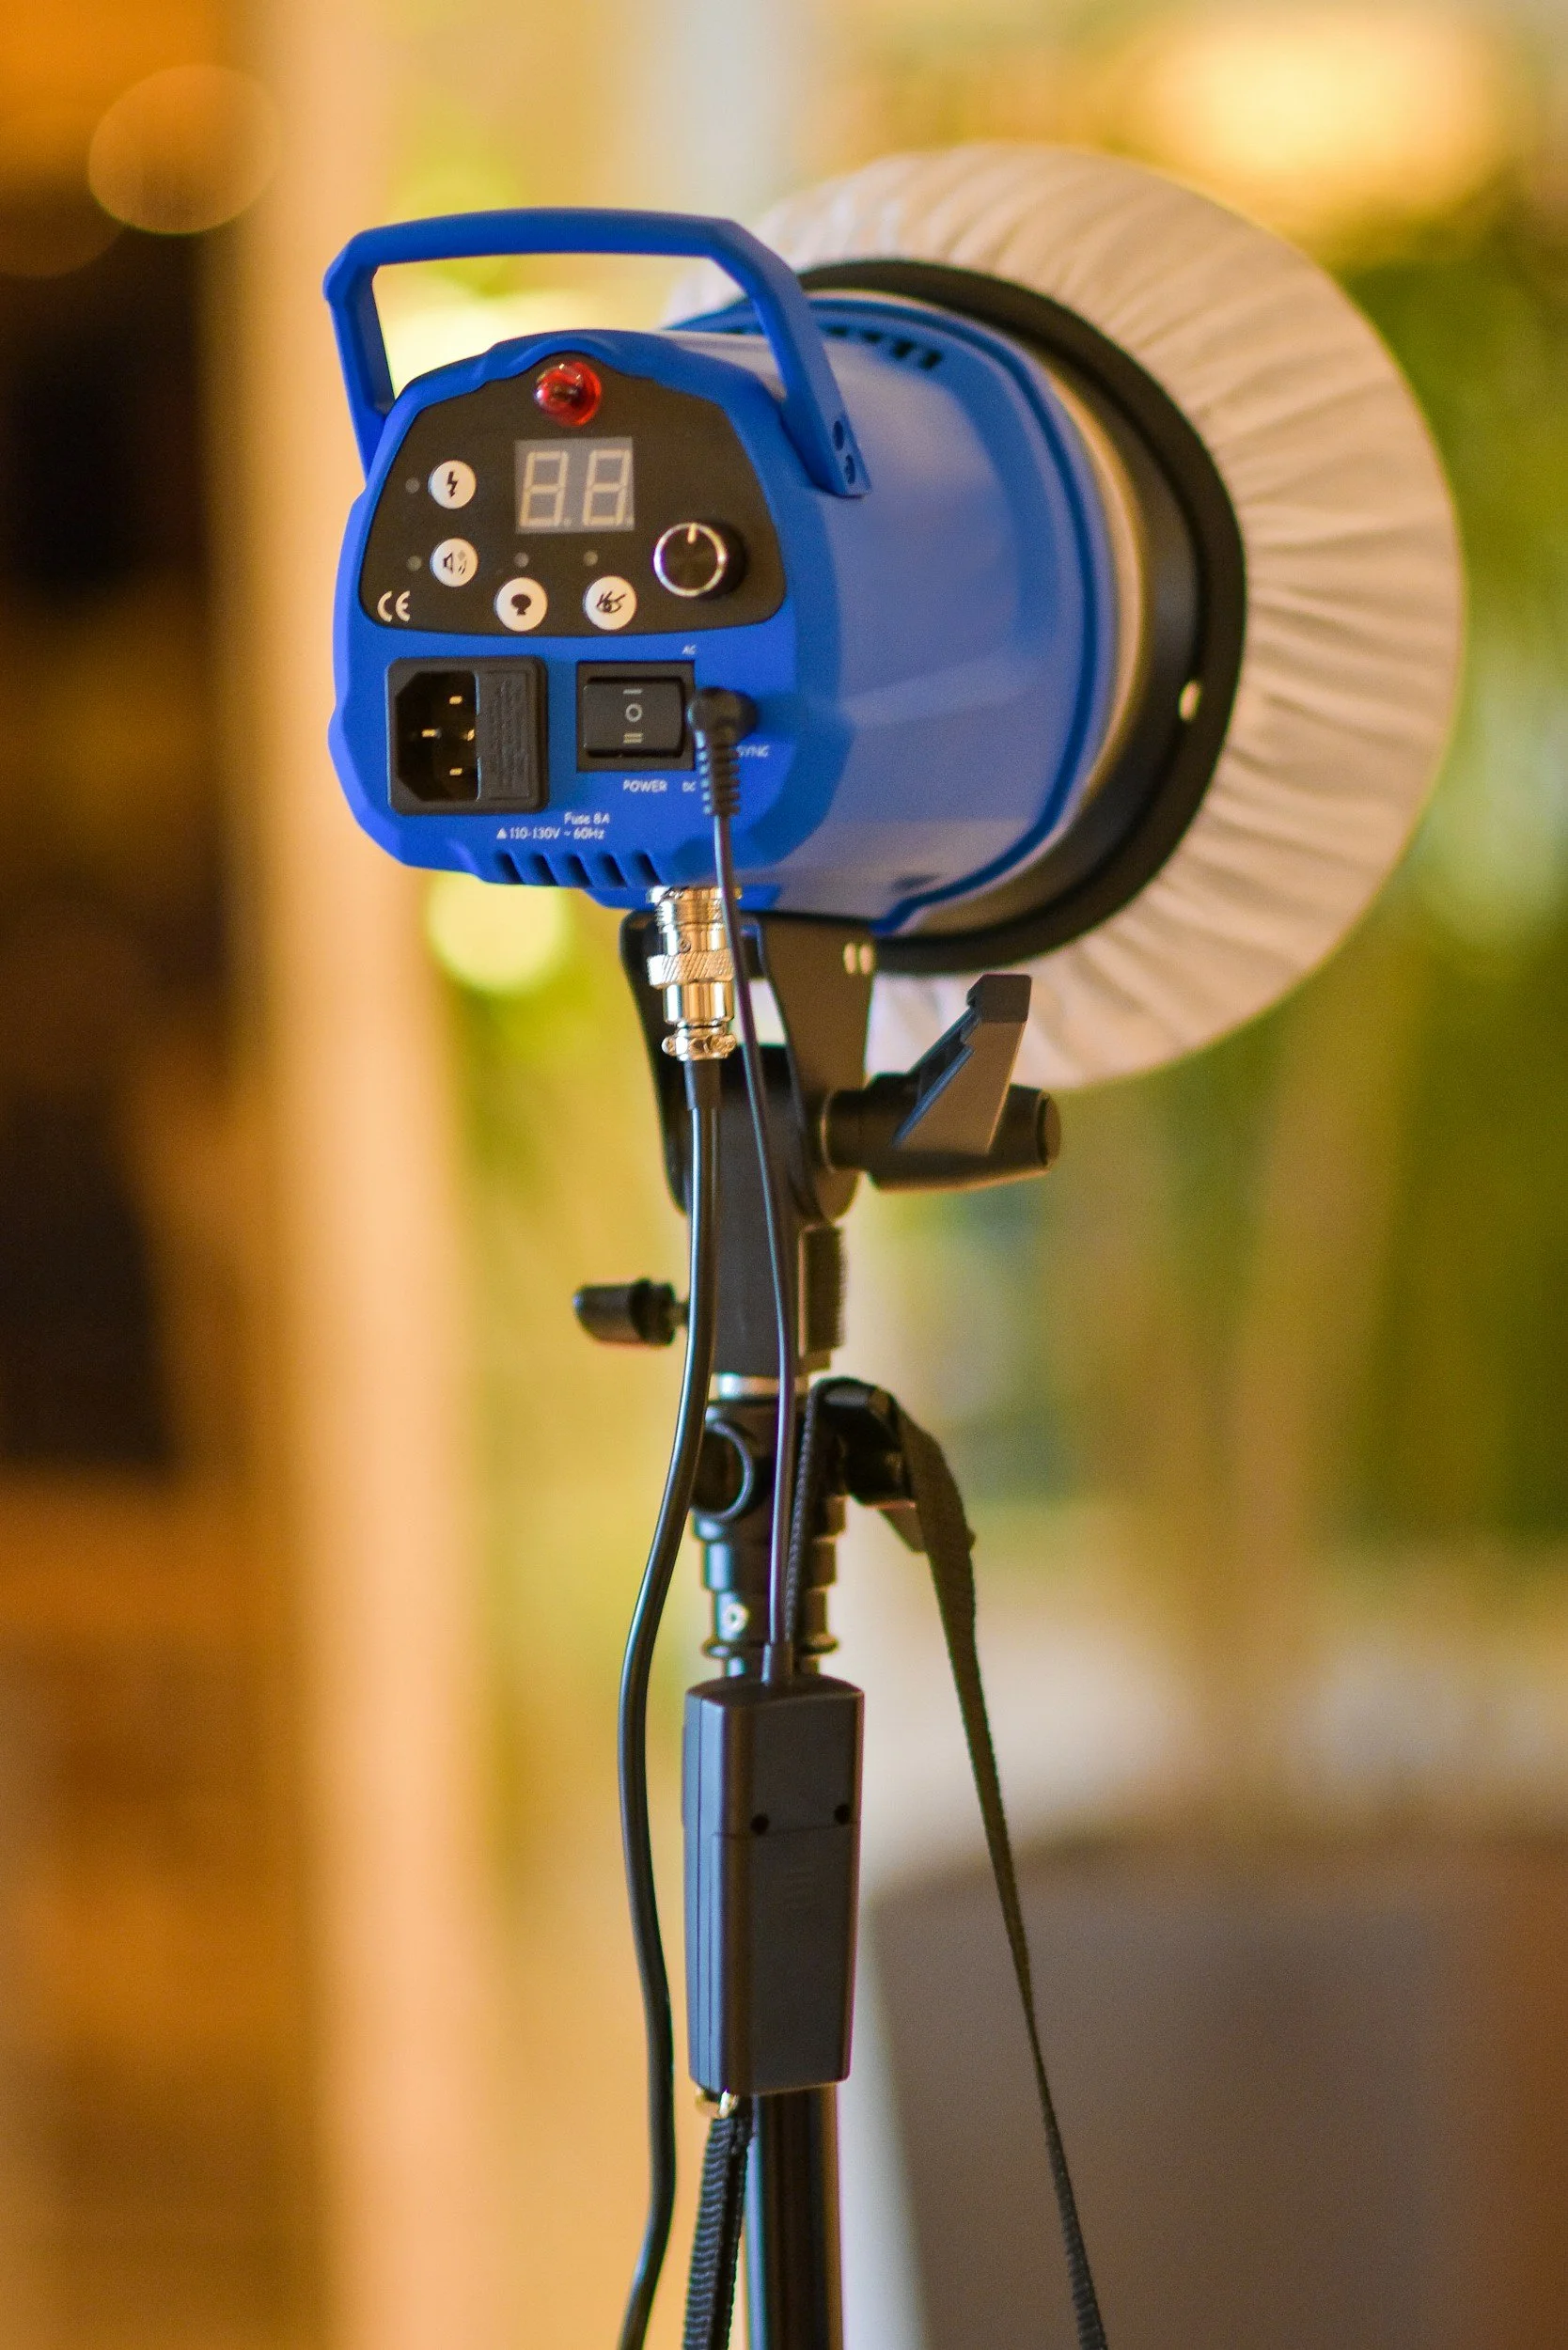
Before you even turn on the flash, take a test shot with the flash off. This lets you see what the camera captures using only the ambient light in the room. If the photo is almost black, it means the flash will do almost all the work. This is often what you want to achieve a consistent, clean, and controlled look, but it’s not always possible or practical.
On the other hand, if the photo is already very bright without a flash, that means the ambient light will have a significant impact. This can be useful if you want to capture an evening atmosphere, colorful lights, or a brightly lit setting. But it can also be a problem if you’re dealing with backlighting, a very bright window, direct sunlight, or a background that’s too bright—that’s when you have to make some decisions.
This test without a flash is very useful. It helps you determine whether your photo relies mainly on the flash or whether the surroundings have a significant impact on the final result.
Next, turn on the flash and do a proper test.
And here’s an important point: you should avoid simply using the “take a photo” button in the software’s settings if you’re right up against the kiosk or too close to the device. The test should be conducted under real-world conditions, with a person standing at the normal viewing distance from guests. Otherwise, you risk setting your flash for a distance that doesn’t match actual usage at all.
Once the test is complete, you can make adjustments.
Here are a few tips to help you get started:
If the photo looks too dark or too light, you need to figure out which part is the problem: the subject or the background.
If the faces and people are underexposed, you should either increase the flash power slightly or raise the ISO setting a bit.
If, on the other hand, the subject is properly exposed but the background is too dark, the problem is mainly due to the ambient light picked up by the camera: in this case, you can raise the ISO slightly, or use a slightly slower shutter speed if the situation allows.
Conversely, if the subjects are too bright, it’s best to reduce the flash power or lower the ISO slightly.
If it’s mainly the background that’s too bright—especially in the case of a window, sunlight, or backlighting—you should instead reduce the impact of the ambient light, for example by lowering the ISO or maintaining a sufficiently fast shutter speed.
In any case, the idea isn’t to change everything with every test, but to figure out what needs to be corrected: the subject lit by the flash, or the background affected by ambient light. With a photo booth, small adjustments are usually all that’s needed.
What flash power should I use?
When using a photo booth, you should definitely avoid setting the flash to full power (unless you want to burn someone’s retinas…). Here are some tips for adjusting the flash intensity.
We recommend avoiding power settings that are too high, such as 1/16 or higher, except in very specific cases. In a standard setup (using the flash we offer at Bizbooth, since everything depends on the flash’s overall power), it’s best to stick to around 1/32, with minor adjustments as needed depending on the flash used. Some models allow for intermediate settings, such as 1/32 +0.3, +0.7, or equivalents depending on their interface (this is the case with our flashes, which is very convenient for fine-tuning).
The idea is simple: the flash should provide adequate lighting, but it shouldn't be too harsh on the guests.
If you have to significantly increase the power to get a decent photo, that doesn’t necessarily mean you should turn up the flash. It might be better to adjust the flash’s distance, angle, diffuser type, aperture, or ISO. A good photo booth setup strikes a balance between convenience, photo quality, and consistency.
That’s also why the choice of equipment matters. A well-designed photo booth, with a properly positioned camera, a suitable flash, and a good lighting system, will be much easier to set up than a makeshift setup. This is exactly the kind of thinking we incorporate into the design of Bizbooth photo booths: offering a solution that is not only elegant but also practical for true professional use.
Be careful of backlighting and daytime settings
1 setting: 3 different modes
This common pitfall often occurs at events that start in the daytime and end in the evening.
Let’s imagine a setup with bright ambient light, such as a photo booth placed near a floor-to-ceiling window or under a canopy facing a very bright outdoor area, or in a room with strong backlighting. When testing during the day, you might be tempted to lower the ISO significantly to prevent the background from becoming too bright.
The problem is that a few hours later, the light starts to fade. The evening begins, the lighting changes, the room gets darker… and the photos suddenly turn out too dark. The setting that seemed perfect at 3 p.m. no longer works at 10 p.m.
That’s why we recommend, whenever possible, choosing a location without excessive backlighting. A stable background, reasonable ambient lighting, and a properly adjusted flash will help you achieve much more consistent results throughout the event.
If backlighting is unavoidable, sometimes you just have to work with it. During the day, the background might be a little brighter or less detailed, but you’ll end up with a setting that remains reliable in the evening. For a photo booth event, consistency is often more important than trying to find the perfect setting at a specific moment.
Find a simple setting and stick with it
The best approach is to create your default settings and stick with them as much as possible.
For example, you might decide that your default configuration will be:
1/160 sec, f/8, ISO 640 with a flash set to about 1/32.
Or:
1/125 sec, f/10, ISO 800 with a wider diffuser.
These values aren't set in stone. They serve as a starting point. From there, depending on your equipment, flash, diffuser, shooting distance, and the look you're going for, you can make slight adjustments.
With experience, you’ll quickly learn what adjustments to make. If the room is very dark, you’ll know whether to bump up the ISO a bit. If the background is too distracting, you’ll know whether to reduce the impact of ambient light. If the faces are a little underexposed, you’ll know whether to increase the flash output slightly.
But in most cases, you won’t need to change everything. A properly set-up photo booth should remain easy to use.
Conclusion: The right setting is the one that remains reliable
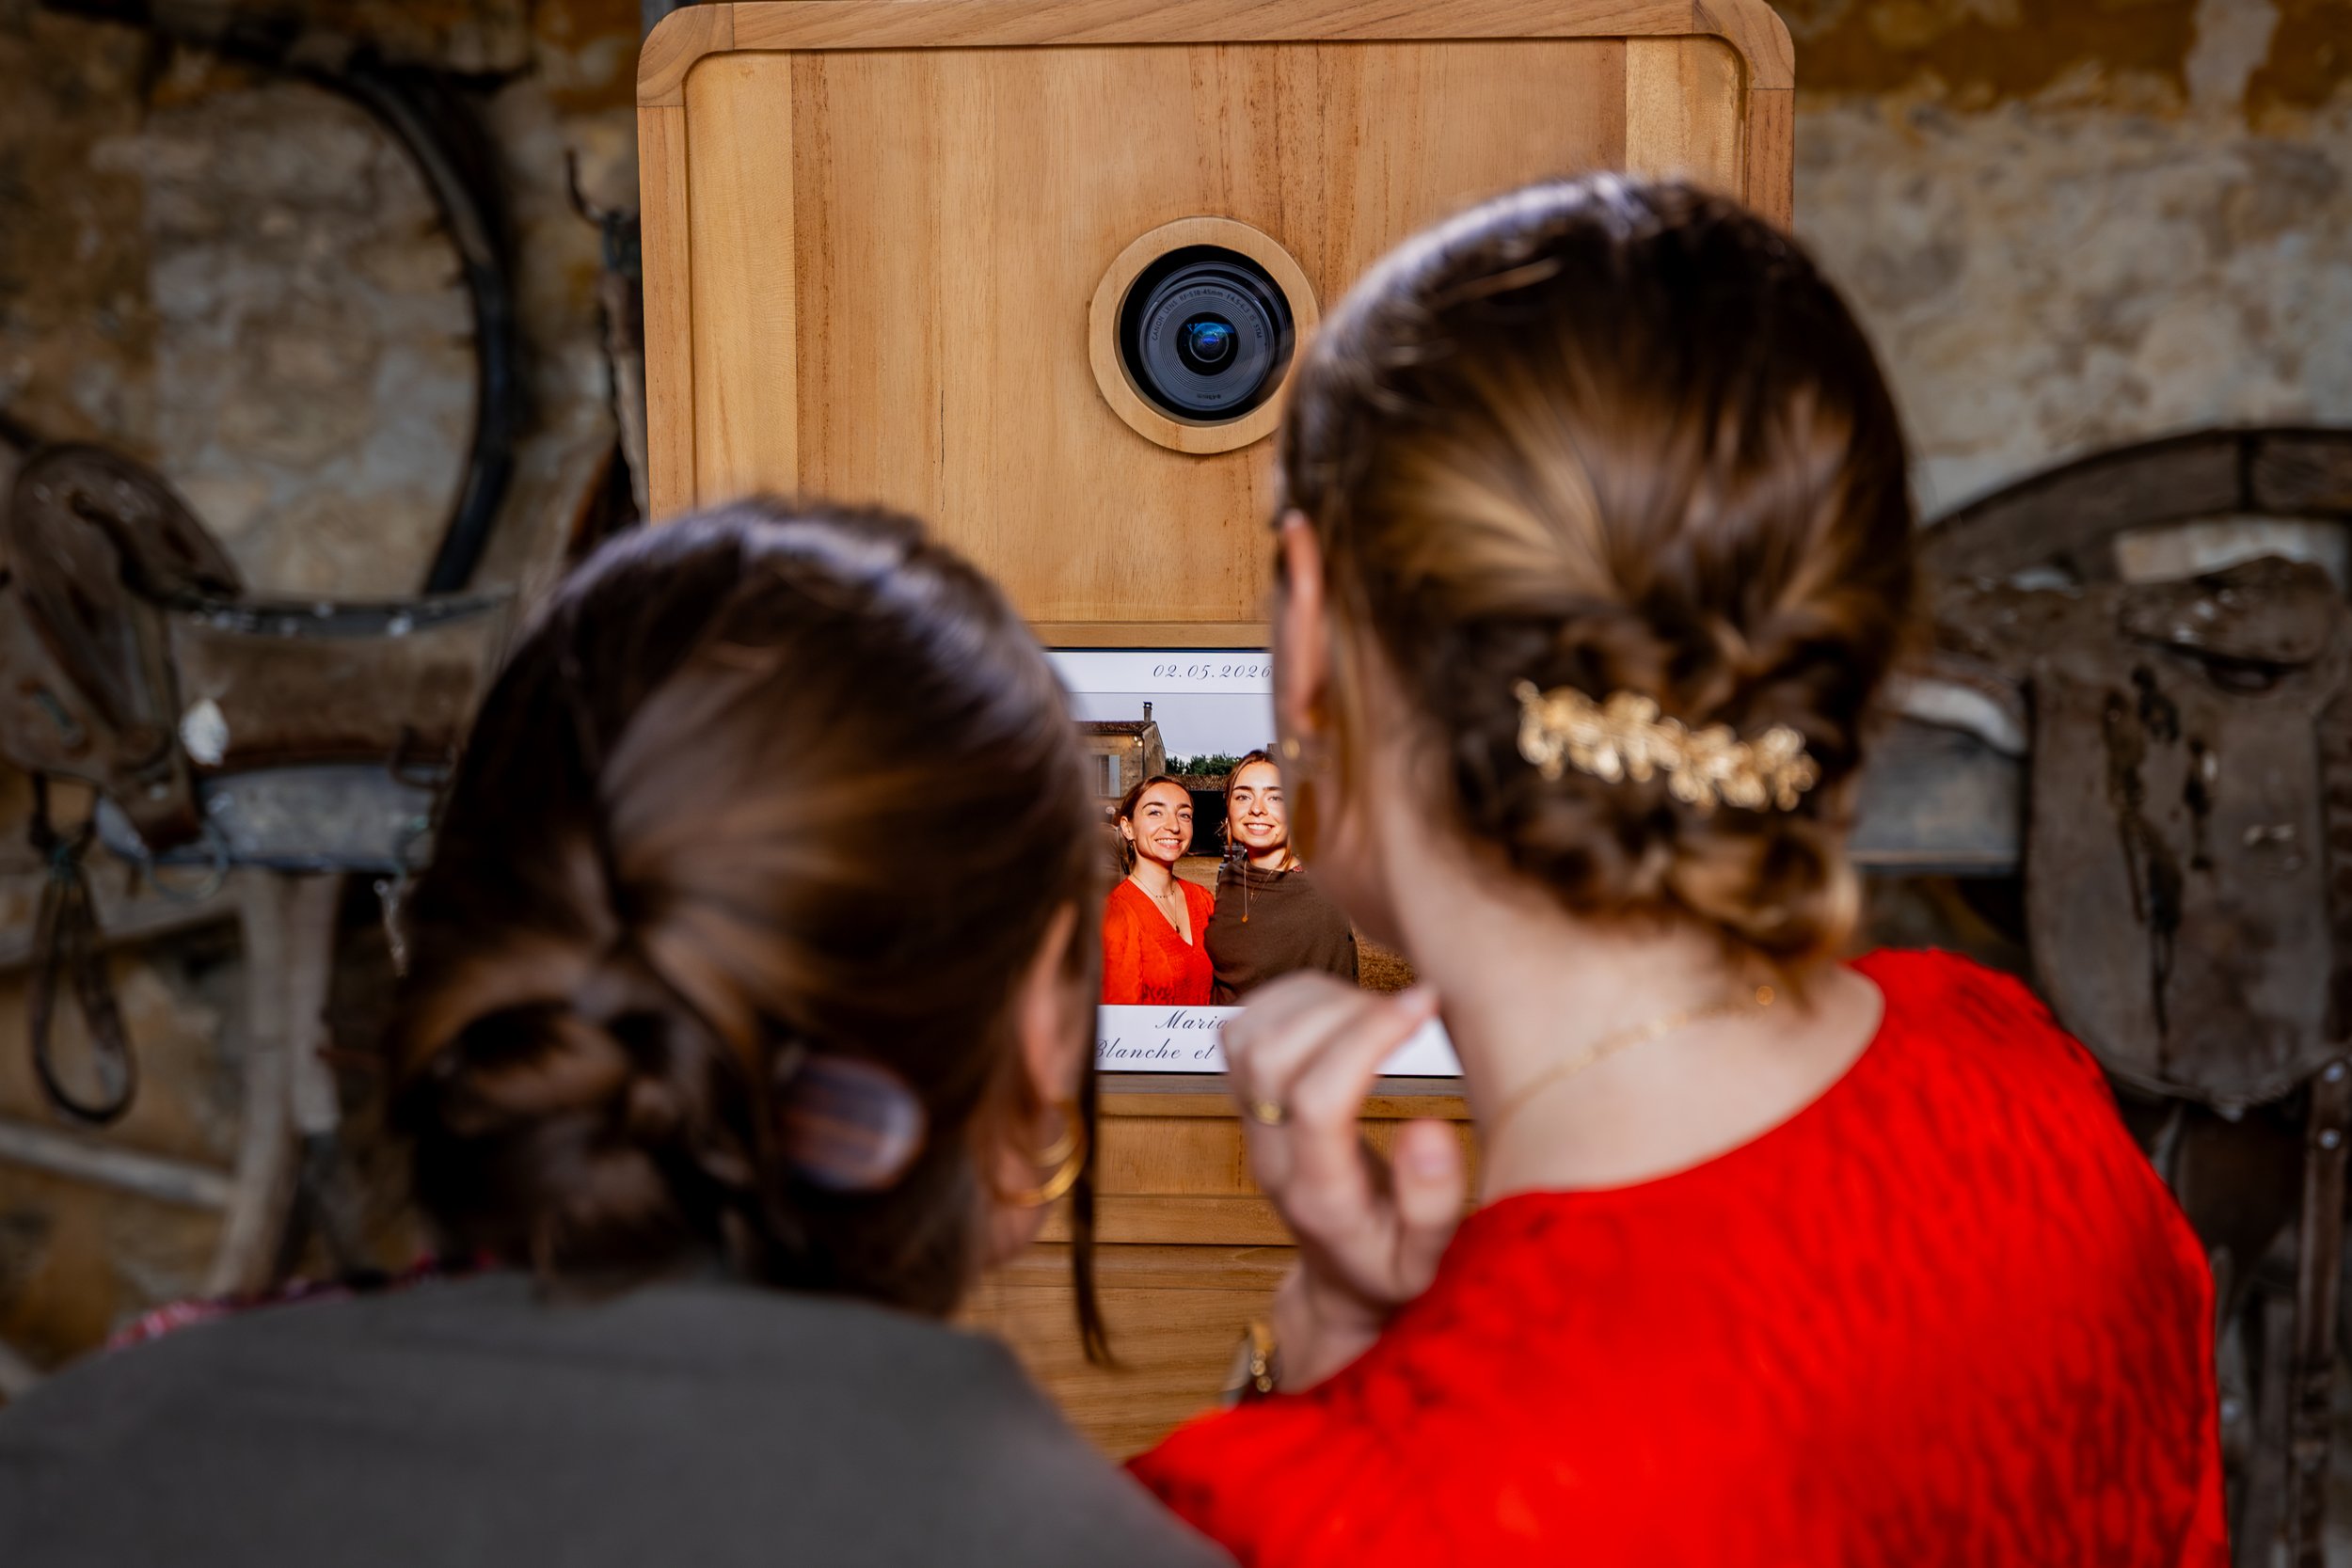
Using a flash in a photo booth isn't about complicated settings. It's mostly about technique.
Start by choosing a solid baseline: a shutter speed of around 1/125 or 1/160, an aperture of around f/8 or f/10, and an ISO setting suitable for the flash and diffuser. Test the ambient light, turn on the flash, take a test shot under actual shooting conditions, and then make slight adjustments.
The goal isn’t to achieve a perfect setting for a single photo, but to ensure consistent results throughout the event. That’s what sets a basic photo booth apart from a professional one capable of producing clean, sharp, and appealing images for guests.
Over time, you’ll become more and more comfortable with your equipment. You’ll learn to recognize simple situations, backlighting, dimly lit rooms, and diffusers of varying effectiveness, and you’ll naturally make the right adjustments.
But always keep this rule in mind: when it comes to photo booths, major changes are rarely necessary. A good basic setup, a few thorough test shots, a reasonable flash output, and a well-chosen location are usually all you need for most events.