

Print in multiple formats at a photo booth with Lumabooth
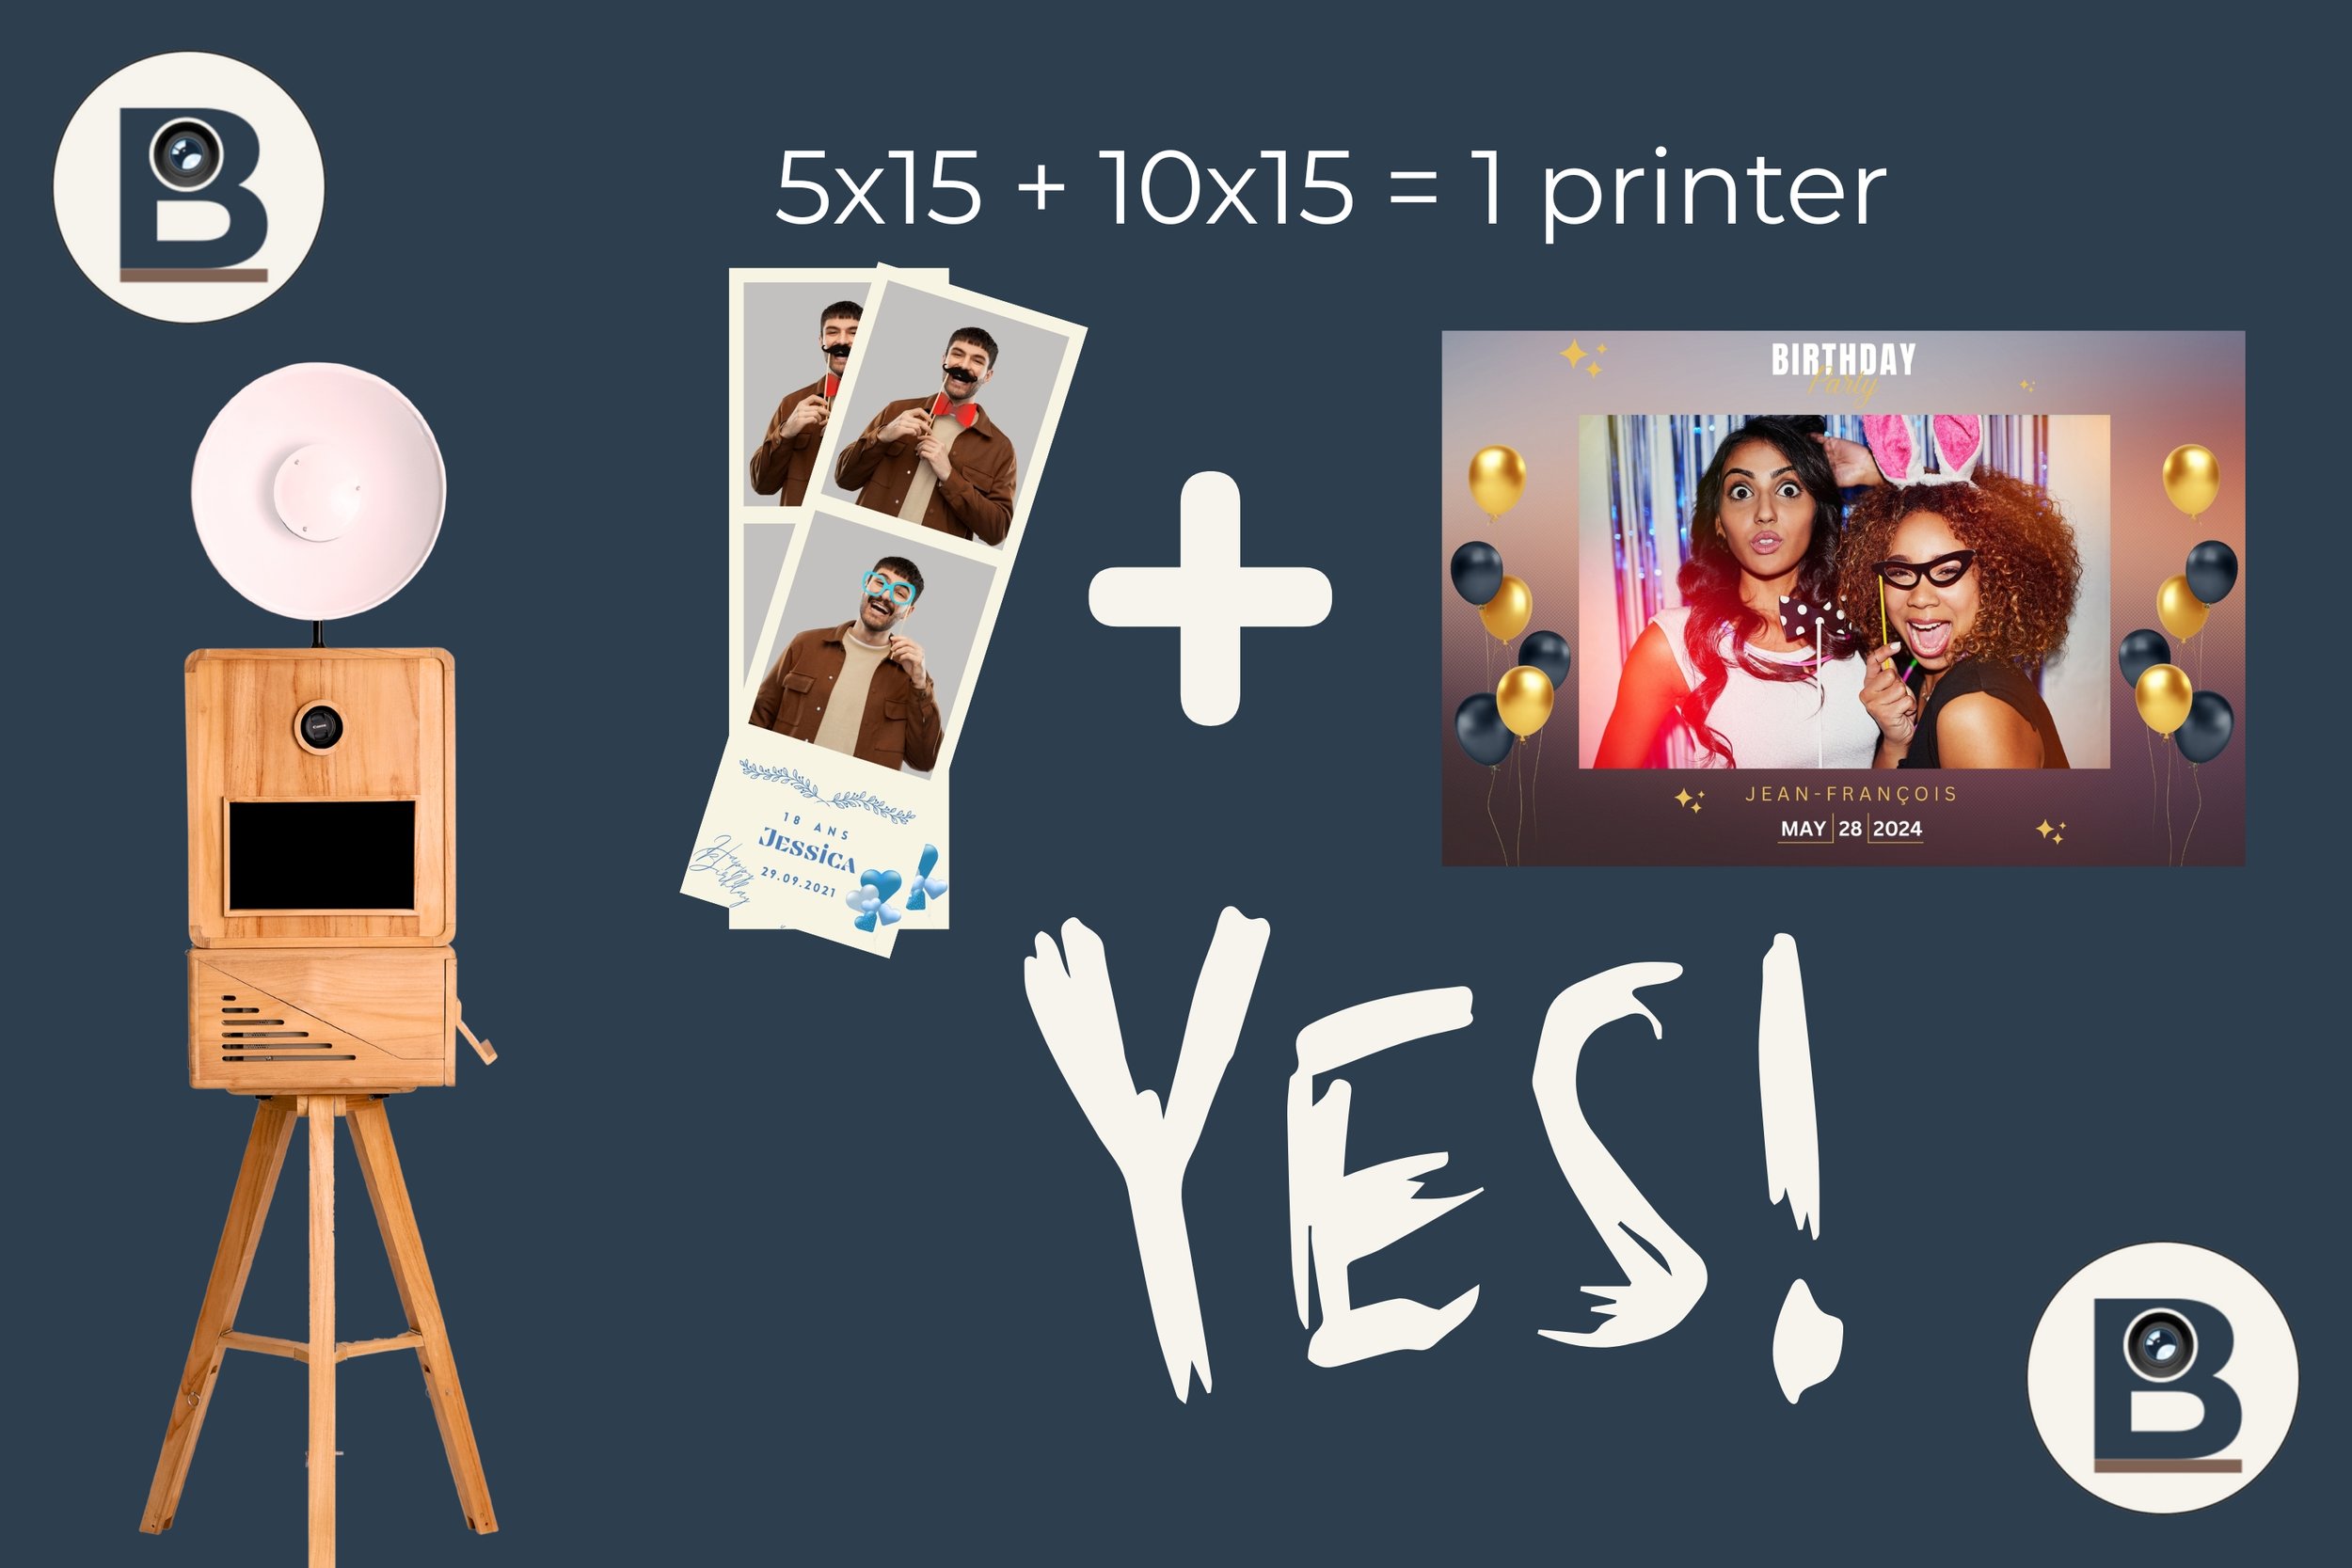
Print 4×6" (10×15) and 2×6" ( strip / bookmark size) with a single printer!!??? It's possible!
Many rental companies want to offer two formats during the same event:
4×6" (10×15 cm): the "postcard" size
2×6": the strip, also known as the bookmark format
Good news: with a DNP DS620 or a Citizen CX-02, you can manage both using a single printer—provided you use the right method. Here’s how:
The idea is simple: create two print profiles in Windows for the same printer:
a "standard 4×6" photo (uncropped)
a "strip/bookmark" profile (with cropping enabled)
Next, in dslrBooth / LumaBooth, we assign each format to the correct profile.
The important thing to understand (before clicking all over the place)
The 2×6 strip format is generally produced as follows:
The printer prints on 4×6-inch paper
then she cuts this sheet to make two 2×6 strips
The catch is that when the “2-inch cut / strip cut” option is enabled in the printer settings, all your prints may be cut (even the ones you wanted to keep as standard 4×6 prints).
That is exactly why we create two separate print profiles in Windows.
Before you begin: what to check
Your printer (DNP DS620 or Citizen CX-02) is already installed and set up for 4×6 printing
Do you have some 4×6-inch paper loaded? (The strip is made from a piece of 4×6-inch paper that has been cut.)
dslrBooth / LumaBooth is installed, and you know how to access Print Layout and Print Setup
Step A : Configure the two printer profiles on Lumabooth

The goal is simple: in Lumabooth, you can use two different print configurations, even if you’re using the same physical printer.
In other words, you don’t necessarily need two printers. In Lumabooth, the primary printer and the secondary printer can be the same device, but with different print settings depending on the desired format.
This is especially useful if you want to offer:
a standard 10×15 cm / 4×6 photo size;
a strip or "bookmark" shape, with a cut in the middle.
Profile 1: Standard 4×6 main printer
In Lumabooth, go to Print Setup.
Select your main printer, such as a DNP DS620 or a Citizen CX-02.
Then click Configure Printer.
A printer settings window will open. Depending on the driver installed, you will usually need to go to:
Preferences, then Advanced Settings.
For this first profile, set the printer to standard photo size:
paper size: 4×6;
strip cut / 2-inch cut: disabled;
Full-size 10×15 cm print.
This profile corresponds to your standard photo print, without any special trimming.
Profile 2: Secondary printer (strip format / bookmark format)
Still in Lumabooth, go back to Print Setup.
This time, set upthe secondary printer.
The key point to understand is this: you can keep the same physical printer. For example, you can continue to use your DNP DS620 or Citizen CX-02, but with different settings for this second profile.
Click " Configure Printer," then go to:
Preferences, then Advanced Settings.
For this "strip" or "bookmark" profile, set:
paper size: 4×6;
Strip cut: enabled;
On DNP, this option is generally called " 2-inch cut ";
In Citizen, look for the equivalent option for the 2-inch cut.
This setting allows the printer to cut the 10×15 cm print in half to produce two strips.
So, in the end, you have two configurations in Lumabooth
Even if you're using a single physical printer, Lumabooth can handle two configurations:
Main printer: Standard 4×6, without cutting;
Secondary printer: 4×6 with 2-inch cut, for strips or bookmark sizes.
Please note: Although the resulting size is 2 × 6, you will always end up with two strips, because the base size remains 4 × 6—it is essentially a 10 × 15 sheet cut in half, resulting in two strips. It is not possible to have a single strip.
This is a very practical solution for a professional photo booth, as it allows you to offer multiple print sizes without needing additional equipment. You use the same printer, but adjust the settings to achieve the desired result.
Step B : Create the two print templates in dslrBooth / LumaBooth
B1) 4×6 (10×15) size
Open Page Layout
Create (or select) a 4×6 template
Place your elements: photo(s), frame, text, logo, etc.
Save
B2) Strip format / bookmark format (2×6)
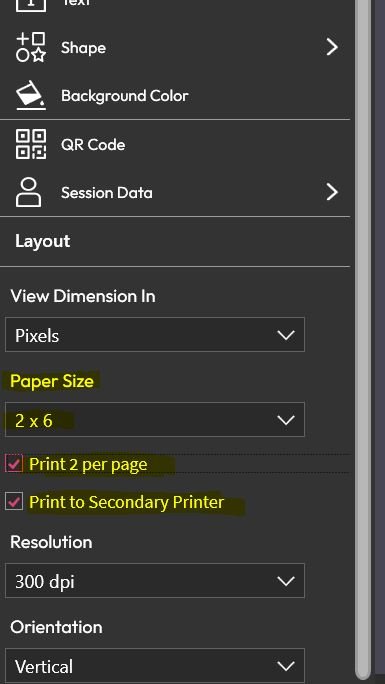
Still in the Layout section, create a 2×6 template
Select the "Print 2 copies per page" option
Enable the option Print to secondary printer
Save
Important: Even if your template is “2×6,” the system usually prints on 4×6 paper and then trims it. This is normal.
Step C: Allow users to choose the format (4×6 or 2×6 - strip)
If you want the screen to offer the following options:
In Print Layout, locate your two templates (4×6 and strip)
Click the star icon (bookmark) for both
Go to Screen Editor → Welcome Screen
Click the " Choose Template " button
Result: The guest selects “4×6” or “bookmark size,” and the print job is automatically sent to the correct profile.
Essential tests (to be done before an event)
Test 1 — The Standard 4×6
Print using the 4×6 template:
✅ The print should come out as a full 4×6 (uncropped)
Test 2 — The strip / bookmark
Print using the strip template:
✅ The printout should consist of two 2×6 strips (automatically cut)
Quick Troubleshooting ( The 3 Most Common Mistakes)
Problem 1: “My 4×6 prints are cropped”
Reason: Strip cutting is enabled on the "4×6 standard" profile.
Solution: Disable strip cutting on the "4×6 standard" profile and leave it enabled only on the "strip" profile.
Problem 2: “My strips come out in 4×6 uncut”
Cause: Cutting is not enabled in the strip profile, or the wrong profile is selected for the secondary printer.
Solution: Verify that the secondary printer is set to the “strip” profile and that cutting is enabled.
Problem 3: “I only have one test strip”
Cause: The “Print 2 copies per page” option is not enabled in the strip template.
Solution: Enable “Print 2 copies per page” in the strip template.
That wraps up this tutorial and the explanation of this amazing trick that lets you offer all print formats (4×6 and strip / 2×6 bookmark format) using just a single DNP DS620 or Citizen CX-02 printer during a single event!
This will allow you to offer your customers a wider range of options and further increase their satisfaction.
At Bizbooth, we want to make life easier for rental professionals. Contact us to discover our kiosks!