

Setting Up Lumabooth (formerly dslrBooth): Part 1
How to Properly Set Up and Configure Lumabooth : Basics, Equipment, and Basic Settings
Lumabooth (formerly dslrBooth) is a leading software solution for running photo booths at professional or festive events. Whether it’s a wedding, a corporate seminar, or a launch party, Lumabooth’s ease of use and customization options make it the top choice for many event providers. However, to fully leverage Lumabooth’s features, you’ll need thorough preparation beforehand, familiarity with the necessary equipment, and careful configuration of certain settings. In this article, we’ll break down the basics of proper hardware and software setup to ensure that on the big day, your photo booth runs smoothly and delights your clients or guests.
We’ll start by discussing how to install Lumabooth and the necessary checks to perform before getting started. Next, we’ll look at the equipment required for a professional photo booth, including the camera and computer. Finally, we’ll explore how to configure the basic settings in Lumabooth (shooting, image quality, print formats), along with some tips for fine-tuning your initial setup.
1. Installation and Initial Setup of the Lumabooth Software
1. Download and software version
The first step is to download the latest version of Lumabooth from the official website.
OPEN THE LUMABOOTH WEBSITE BY CLICKING HERE
Then select “Subscribe for Windows”
Over the past few years, Lumabooth's business model has evolved into a single subscription plan (which includes all the features that were previously sold separately). This means that as long as your subscription is active, you can take advantage of all the Pro features, including AI options, cloud sharing, animated GIF creation, and more.
Why opt for the latest version? Successive updates improve stability, add bug fixes and often introduce exciting new features.
System Compatibility: Lumabooth runs on Windows 10 or 11 (64-bit versions). It is essential to keep the operating system up to date to avoid conflicts or compatibility issues.
2. Installation and activation
Installation is guided: you run the downloaded file, follow the installation steps, then activate your license using the credentials you received with your purchase. It's advisable to perform this operation a few days before the event, to give yourself time to intervene in the event of a compatibility problem.
Switching to French: In the Lumabooth settings, you can select French as the interface language. This makes the software easier to use, especially if you need to train an operator quickly.
Training and resources: to familiarize yourself with the interface, you can test the trial version or consult the online documentation. If you're new to the software, plan a detailed test session before deploying it in real-life conditions.
3. Anticipate updates
Windows has the annoying habit of forcing restarts to install certain updates. Remember to disable these automatic updates for the duration of the event, or to install them the day before, to prevent a photobooth session from being unexpectedly interrupted.
2. The equipment required for a quality photobooth
1. The camera
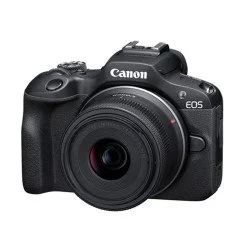
Bizbooth includes the camera most recommended by the supplier in its packages: the Canon R100
Lumabooth is compatible with most recent DSLR and mirrorless cameras (Canon, Nikon, Sony), as well as certain webcams and GoPro cameras.
SLR or hybrid? For professional use, a mid-range/high-end SLR or hybrid camera is the preferred choice, as it guarantees excellent image quality and responsiveness.
USB connection: the connection between the device and the computer is usually made via a USB cable. Choose a good-length, high-quality cable to reduce the risk of disconnection.
Device power supply: if possible, use a mains power supply (dummy battery) to avoid power cuts during the event. If not, plan to have several batteries charged if the installation is prolonged.
Power down: deactivate the camera's automatic power-down function so that it's always ready to shoot.
Focus and exposure: before the event begins, you can set the focus in manual mode (fixed focus) by focusing on the area where the guests will be standing. This avoids autofocus delays. As for exposure, M (manual) mode is also recommended if you're using a flash and light conditions don't change.
2. The computer
The other crucial component of a photo booth is the computer running Lumabooth.
Minimum specifications: Intel Core i5 processor, 8 to 16 GB RAM, sufficient hard disk space (several gigabytes to store photos and, if required, GIFs or short videos).
Dedicated graphics card: highly recommended for accelerating AI processing or advanced effects.
Operating system: Windows 10 or 11. Disable screensaver and hibernation. Any interruption of the PC could stop the photobooth service.
Windows updates: as already mentioned, finalize them before the event to avoid a forced restart at an inopportune moment.
3. Lighting
For sharp, high-quality shots, good lighting is essential.
Studio flash: a studio flash with diffuser (umbrella, softbox) provides even, pleasant light. Professional photobooth packages often include an appropriate flash, synchronized with the camera.
LED lights: they can be used for continuous lighting, but this requires correct exposure settings and a well-controlled space.
Positioning: place the light source high enough and facing the shooting area, to limit unsightly shadows. Test to find the ideal wattage.
4. Photo printer (optional)
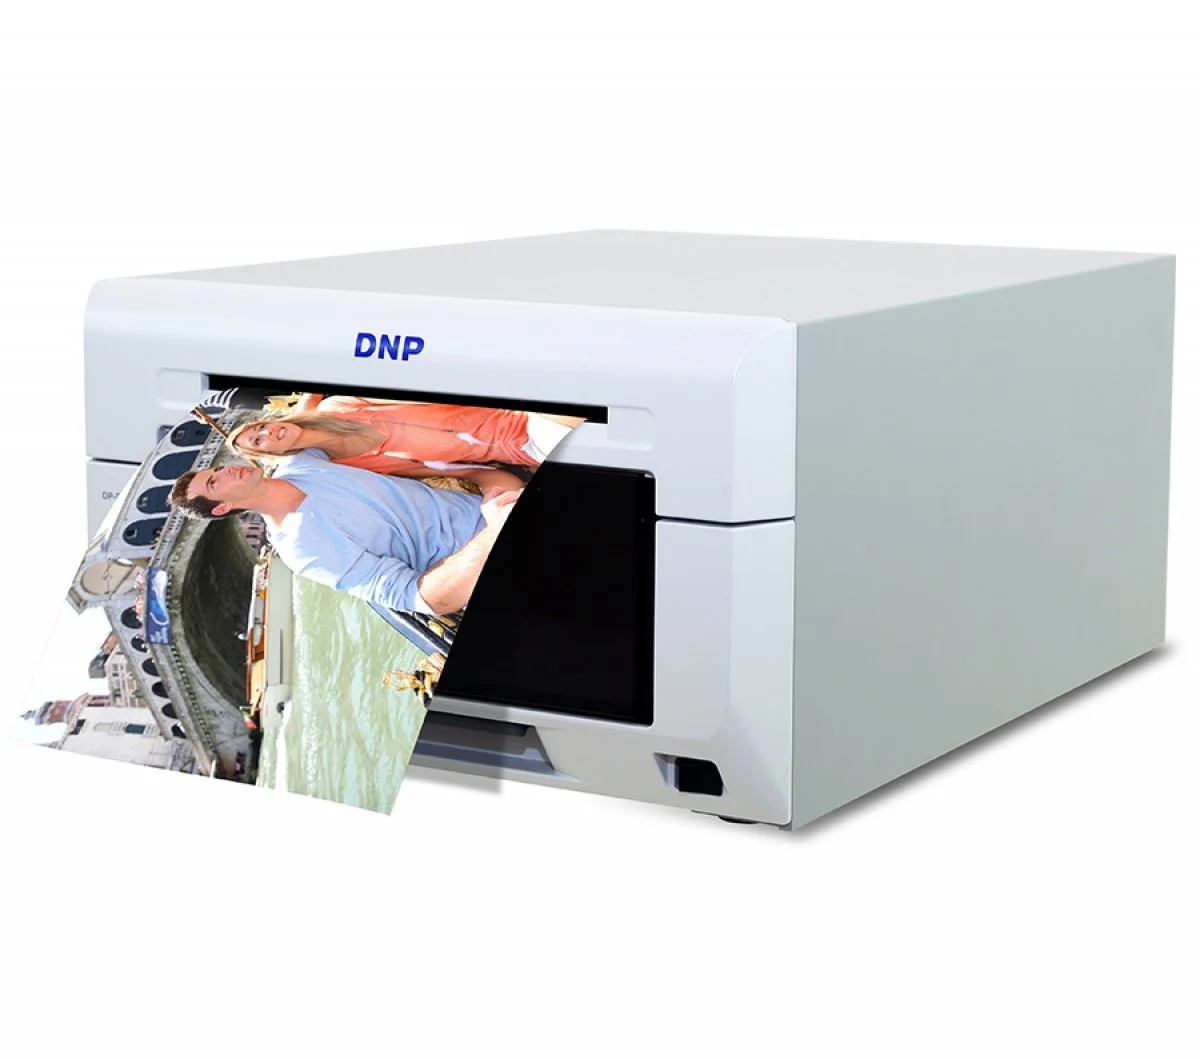
Reference: DNP DS 620 (or Citizen CX 02)
If you plan to offer instant prints, invest in a dye-sublimation photo printer (e.g. DNP, Citizen) or a specialized printer. They offer the quality and speed you need for events.
Standard paper size: 10×15 cm (4×6 inches) is the most common.
Drivers and print quality: install drivers before the event, check ink level (sublimation ribbon) and set print mode to 300 dpi minimum.
5. Accessories and fittings
In addition to photo and computer equipment, you'll need a tripod for the camera, a background (plain canvas, personalized wall), playful accessories (wigs, frames, signs) and gaffer tape to secure cables to the floor. All this contributes to the fluidity and safety of your installation.
3. Configuring Basic Settings in Lumabooth
1. Camera detection and settings
Once the device is connected to the PC and Lumabooth is open, the software should automatically detect the device.
Live View: activate Live View if your camera supports it. This greatly simplifies framing and focusing.
Shooting mode: define the number of shots per session (e.g. 3 or 4 photos) and the countdown time between each capture. You can add a message or alert sound to let guests know that the photo is about to be taken.
Exposure parameters: if you set your camera to manual mode, make sure you find the right aperture/speed/ISO combination to suit the flash or ambient lighting. The important thing is to maintain consistent exposure from one photo to the next.
2. Resolution and image quality
By default, Lumabooth provides files optimized for standard printing (300 dpi). This corresponds to approximately 1200×1800 px for a 10×15 cm print.
In-camera image size: a modern SLR can exceed 20 or even 30 megapixels, but it's often best to keep to a reasonable file size (high-quality JPEG) to speed up transfers.
Filters and Effects: Lumabooth includes a variety of filters (black and white, sepia, Glam effect, etc.). If you plan to use them, test them beforehand to make sure they don’t significantly increase the post-processing time.
3. Template and print format
The template is the key element that determines the final appearance of the printed photo.
Choice of format: 10×15 cm in portrait or landscape orientation, or photobooth-style strips (5×15 cm).
Template Editor: In Lumabooth, you can open the editor, which lets you arrange multiple photo frames (for 3 or 4 poses), text, a logo, and more.
Personalization: add the name of the event, the date, a hashtag, graphics related to the evening. If you're working with a brand, integrate their logo and respect their graphic guidelines.
Automatic printing: in the settings, you can specify whether printing starts automatically at the end of each session (and how many copies), or whether it remains manual.
PRO TIP: With the x20 Template Pack, whether purchased as a pro pack or over-the-counter in the Shopbooth, we've made it easy for you: you import the template, and all you have to do is change the text... It's MA-GI-QUE! (and saves a lot of time).
4. Tips to boost efficiency right from the start
Prefer full-screen mode
On the day of the event, set Lumabooth to full screen to prevent guests from accidentally clicking on the Windows desktop or the taskbar. This also creates a more immersive experience.
Take care of the welcome interface
Lumabooth lets you customize the home screen (text, background color, image). A clear message encourages people to tap the screen or start the session. It may seem like a small detail, but a polished presentation makes people more likely to participate.
Stabilizing the installation
Make sure that all cables are secure, that the tripod is firmly in place and that no one is in danger of tripping over it. Sudden movements could cause disconnection or constant blurring of shots.
Anticipate the duration of the event
Storage
If the event is long and you're expecting a lot of participants, you'll need a large-capacity hard disk or an external solution for regular backups.
Heat
Taking a series of shots with a Live View camera puts a strain on the sensor and can generate heat. Check that your camera can hold a charge, especially for sessions lasting several hours. It's best to have a continuous battery, as on Bizbooth photobooths.
5. What You Need to Know About the Basics of Lumabooth (formerly dslrbooth)
A successful Lumabooth setup starts with careful preparation. From choosing the camera and computer to configuring the software’s basic settings, every detail matters in ensuring that participants have a smooth and fun photo booth experience.
By following these steps (installing the latest version, setting up the camera, customizing the template, installing the right lighting), you'll lay a solid foundation. You'll then be able to move on to more advanced functionalities, such as background overlay via AI, instant sharing via QR code and multiple customization options.
Photo booths have become a staple at many events, and Lumabooth is a reliable partner for capturing professional-quality photos with a wide range of creative possibilities. With a little practice and a well-oiled setup, you’ll be able to deliver a flawless service that meets the expectations of your clients or guests.
Check out Part 2 on our blog to continue learning how to set up Lumabooth on your photo booth.